This art was inspired by a tree I always saw outside of my house . The theme here is about social media addiction . The glowing human bodies generate the energy to power up the social media ( the PC monitor , phone and tablets ) . In my opinion humans rely much on social media until they become socially numbed . The tree represent life and these are the lives of those that got socially addicted .
Thursday, 11 April 2013
Central Market Trip
We went for a trip the other day to Central Market in KL to check out and to get inspired for our final project .
One of few heritage buildings around Central Market . This one here is one of the oldest restaurant .

One of the artist is doing a potrait . I think his name is Ali . He is quite friendly and gave us the permission to take his picture .
A statue located at the upper floor of the anexxe gallery .
The buddha statue there is very beautiful and also the painting on the right hand corner .
Pop Art step by step
Get all of the image files and open it up in Photoshop CS6
Unlock layers to enable cropping of the body image
Using the Lasso Tool , cut the body precisely and copy it .
Paste the cropped body to the vintage paper background
Resize the body image to the size that you want . Cropped the animal head using the same step 2 process
Paste and allign carefully to the image of the body . Now you have a "werepig" . Lets move on to add some spice to the background .
Select the image and copy it to the vintage paper
Put the sun burst image under the body layer and adjust the opacity . Now you have a japanese "werepig" .
Miss Suzanne here looks suprised . Crop her image using the same lasso tool and copy it . (Remember always unlock the background before cropping)
Paste Miss Suzanne image and put the layer before the sunburst and adjust the opacity . Now she looks more suprised ! Next , let's put some layer mask into this image . Copy paste (The same process over and over again) the image and paste it to the background . Resize it and it will look like this ....
Again , adjust the opacity and add a layer mask .
Change the content colour to black and click ok .
Now use a brush and brush it off .
Since miss suzanne is no longer suprised lets add an effect to it .
Add a few wording and its done . Behold , the "werepig" .
Art gallery trip

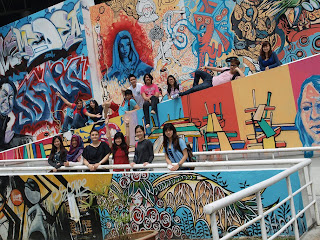
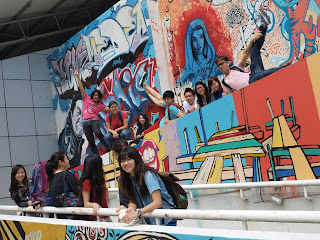
These are some picture of us !

Subscribe to:
Posts (Atom)


